DIY Laptop Repair (MacBook Pro, 13-inch)

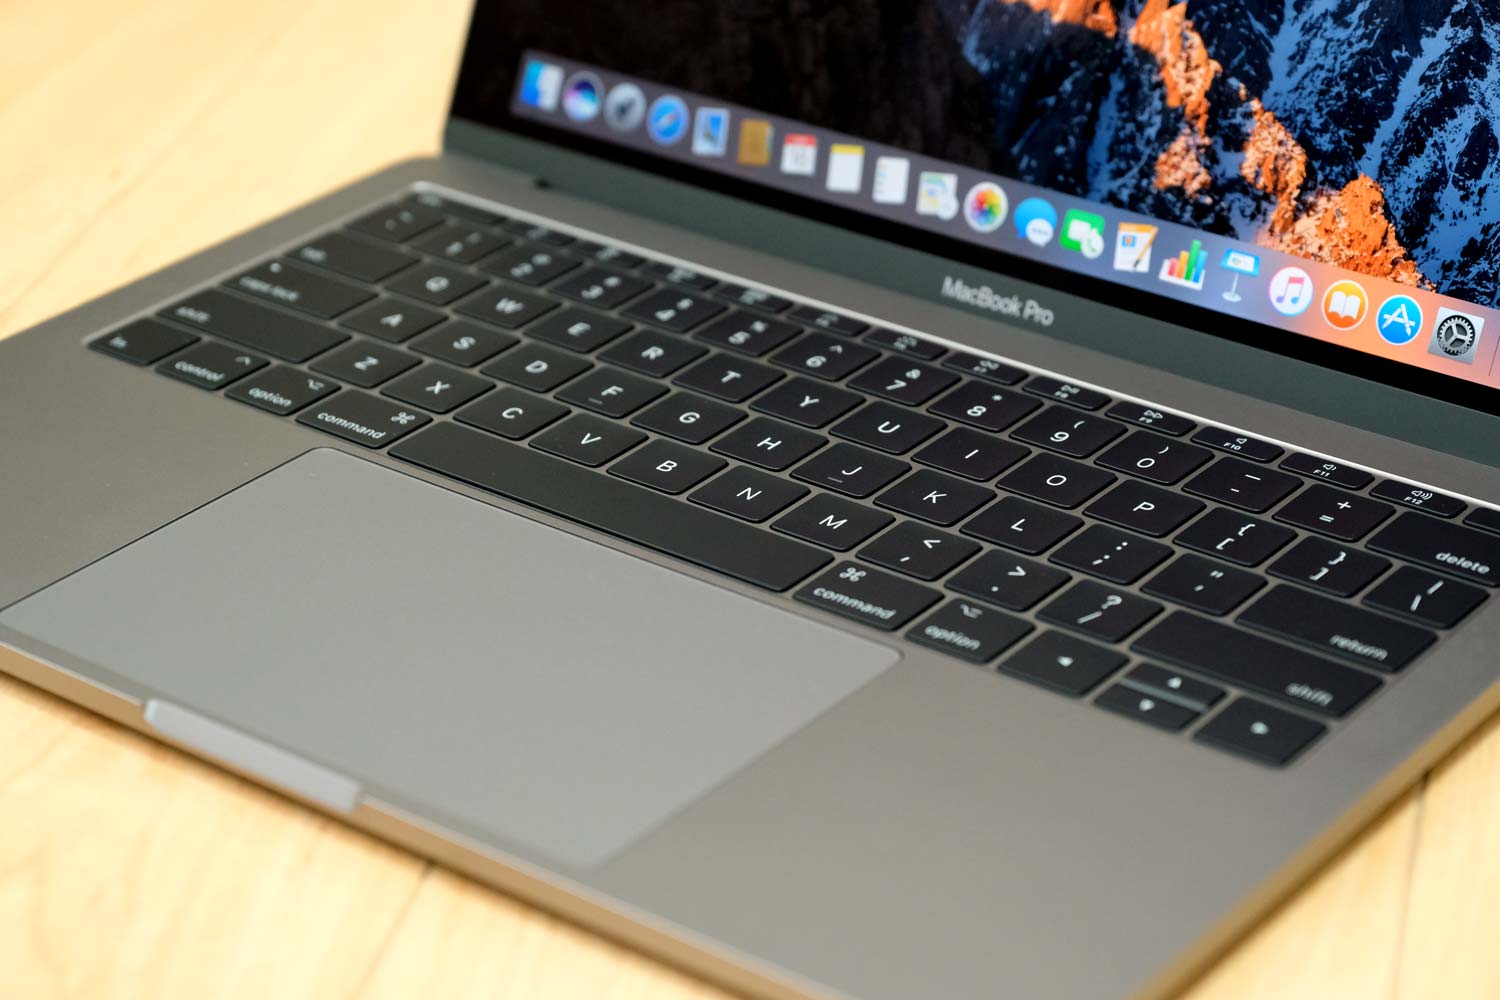
I noticed the keys on my laptop haven't been as "clicky" since I got it and due to the design of the more recent Apple MacBook Pro keyboard (mainly 2016 & 2017 models as they share a similar design), any particles that get trapped between the keycap and hinge would cause the keys to lose responsiveness. They'll no longer have that tactile feel and become mushy when pressing down (sometimes not taking any input at all).

Disassembly Instructions
STOP! Before you get down to business, check Apple's support page here (https://www.apple.com/support/keyboard-service-program-for-macbook-and-macbook-pro). You may be eligible for the Keyboard Service Program as it covers some SKUs as early as 2015 and is valid for your unit within four years since purchase.
I'm just outlining my experience and this is not an official repair process. Proceed at your own risk! (your warranty will most likely be void after, maybe?)
To remove the keys, you can start by gently prying keycaps by the top left or right corners upward. Be mindful that you're just removing the keycap itself and not the hinge underneath.
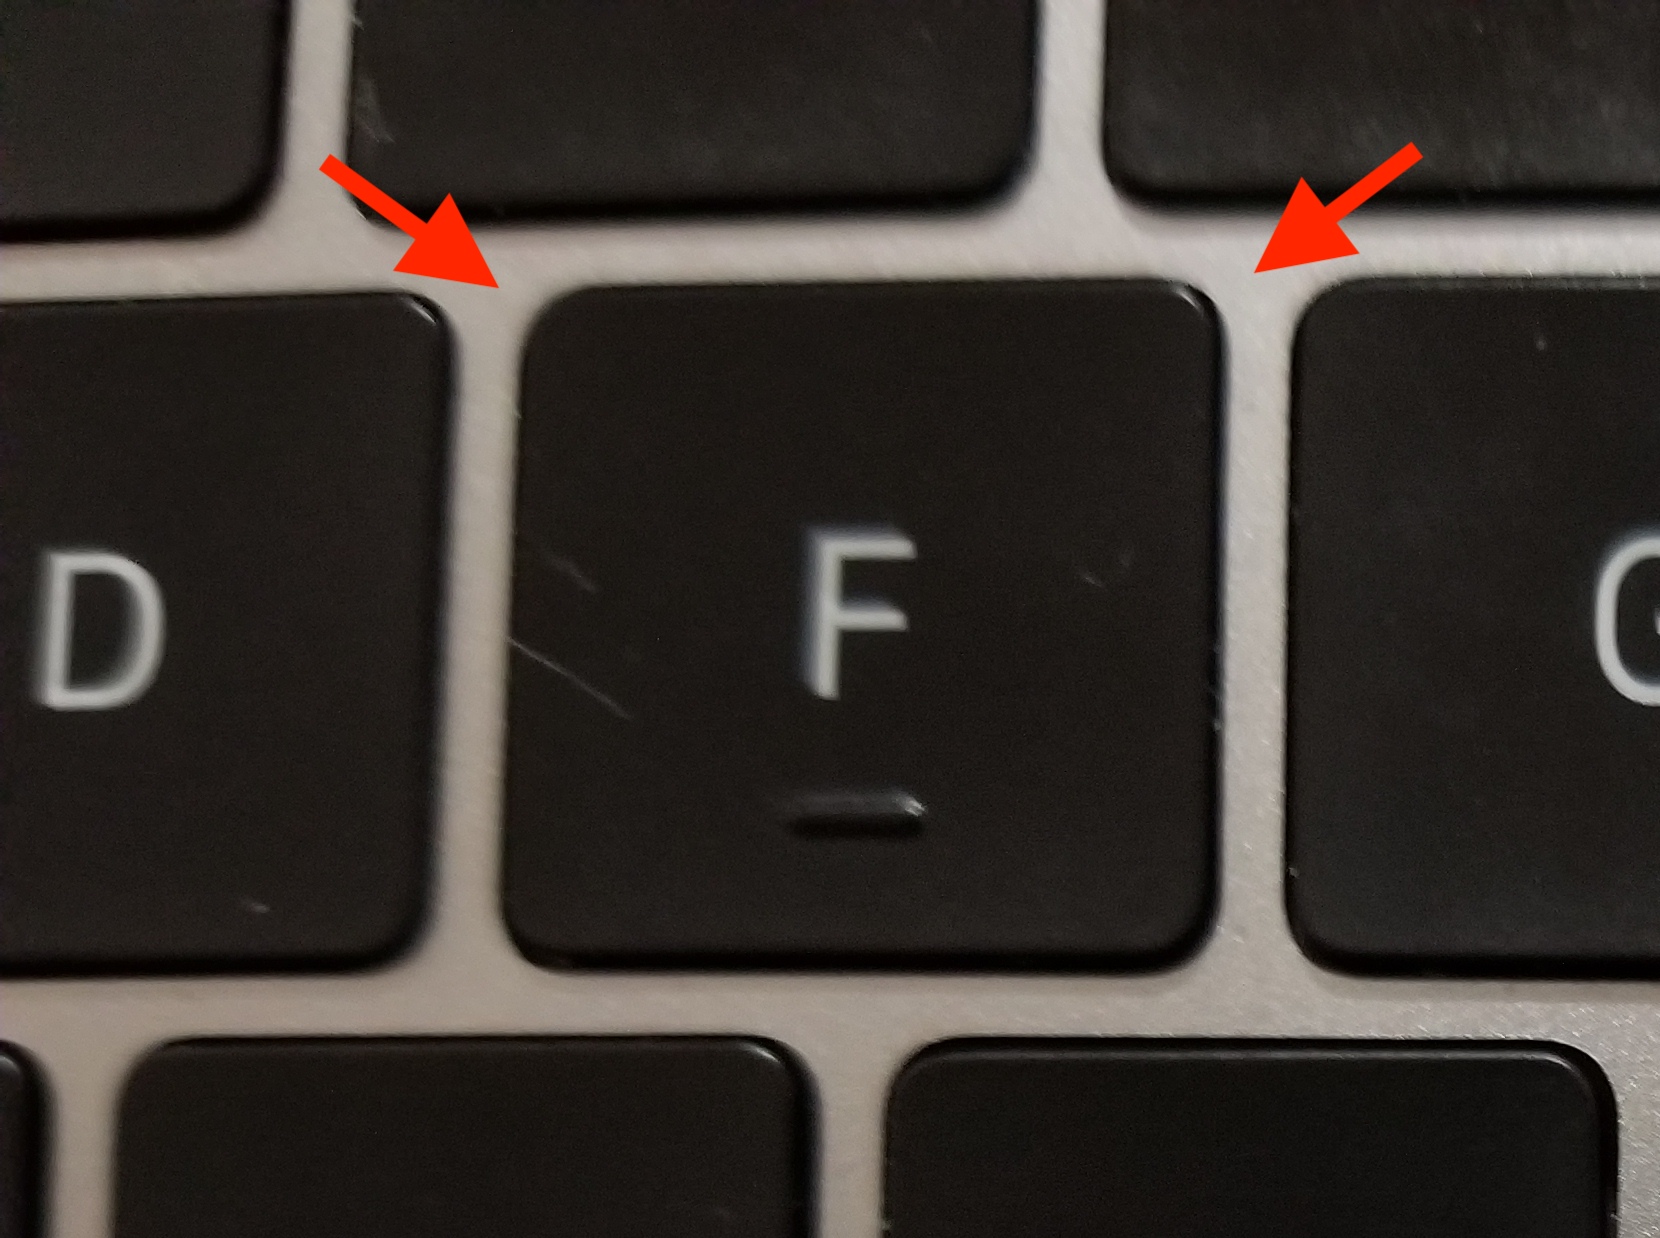
Afterwards moving to the other top corner depending on which side you elected to do first - note that the reason you want to unfasten the top corners is the hooks are shaped like a "U" and come apart easier opposed to the bottom "C" shape.
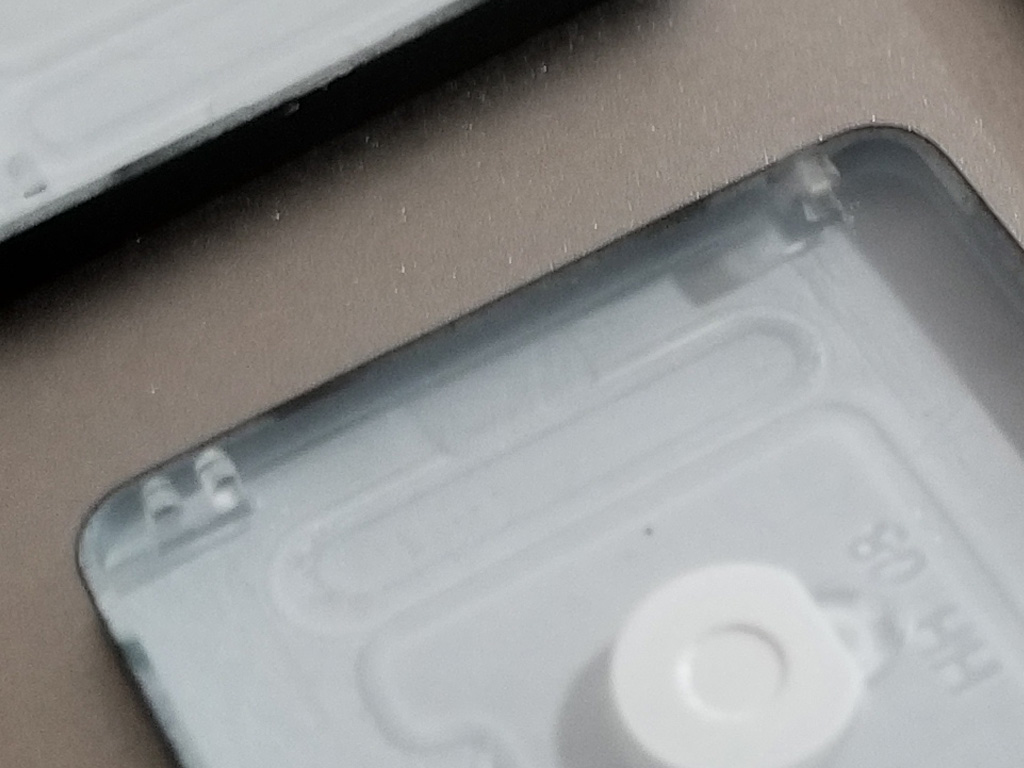
When the top comes undone then it's just a matter of swinging it upwards (like a door) and the keycap should come apart freely.
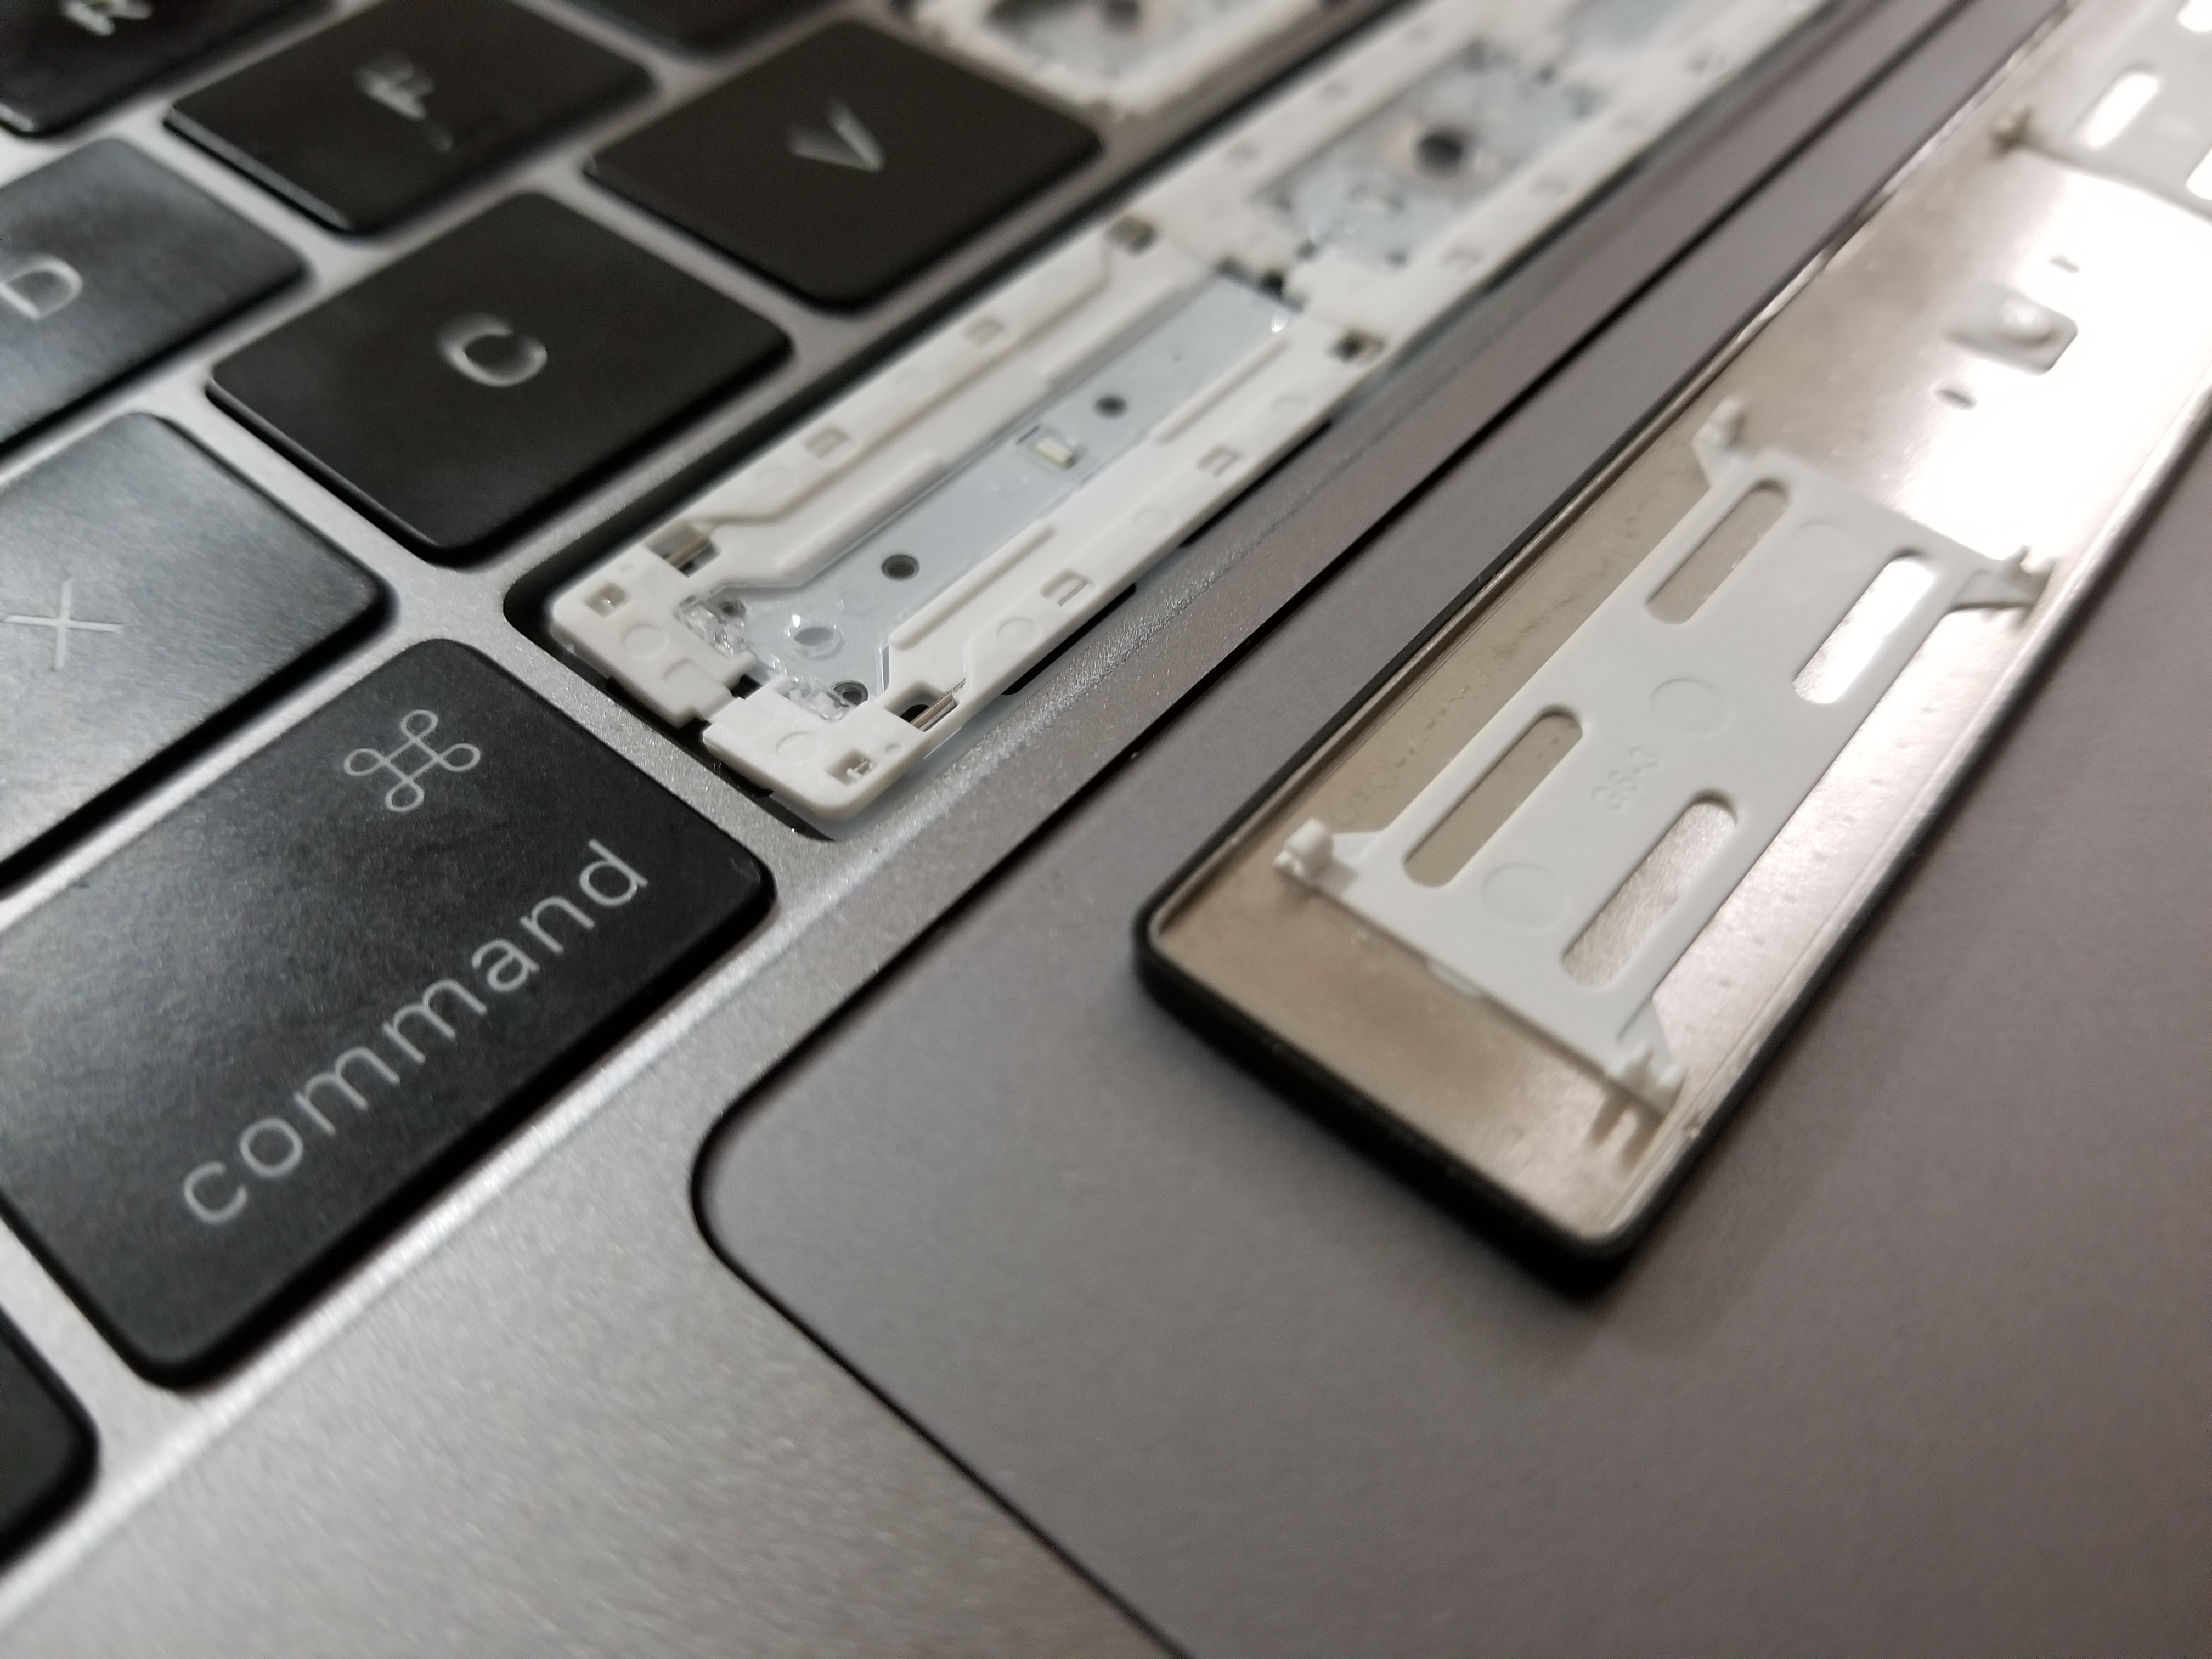
Most of the other keys should be able to be removed in a similar fashion with the exception of the spacebar, top/down arrow keys, and function (Fn) keys. The spacebar has a total of eight "anchors" and when prying open the keycap for it, you may be lifting up the hinge as well - so be mindful of that. Here's a couple photos of how some of the keys look removed.
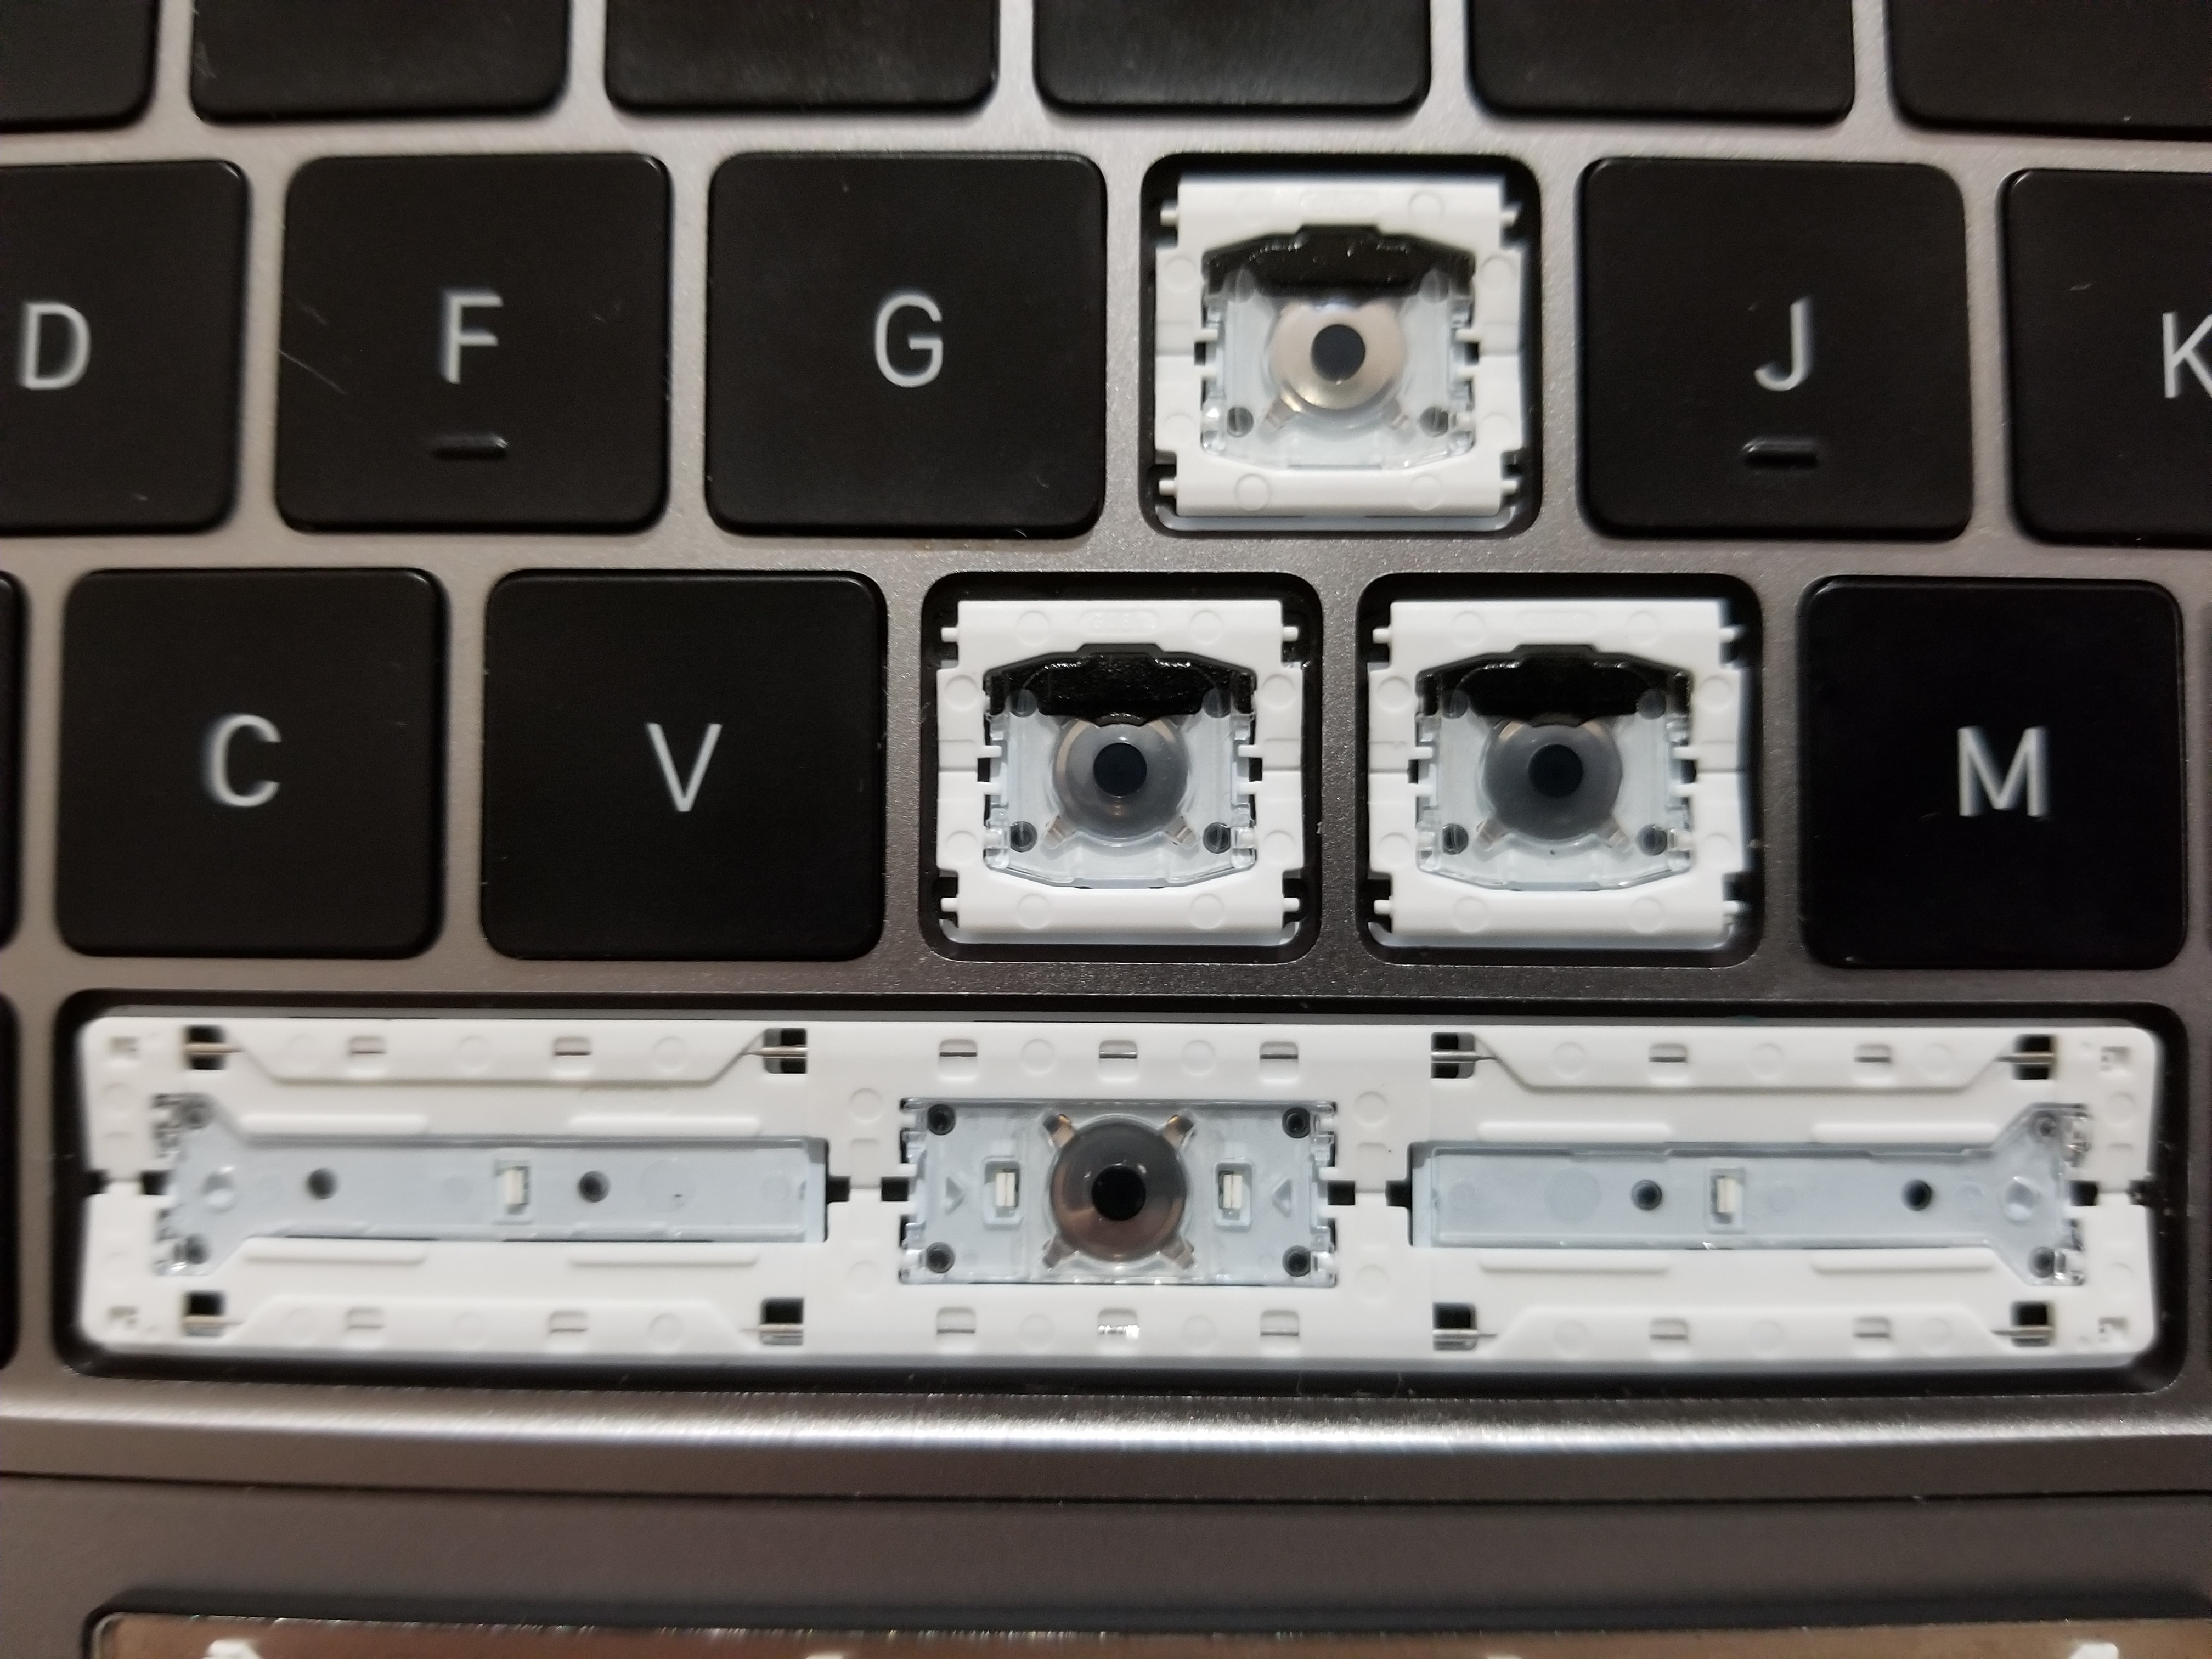
Whereas the arrow keys, the top one has its "U" hooks on the top/bottom right corners and the bottom has them reversed with them being on the left side. I haven't removed any of the keys along the top row where Escape resides, so you're on your own for those! Give me a shout in the comments if you have any questions and I'll do my best to answer them.
UPDATE: For 2018 models, it appears Apple has added a protective membrane over the butterfly hinge assembly to repel anything that gets trapped in between. Read more about it on iFixit.